
Heritage Joinery | Oak stable doors the right way | Joinery in the Cotswolds.
- paulalexanderwoodwork

- Jun 21, 2025
- 3 min read
Updated: Jun 28, 2025
There's a lot of terrible Joinery around, some is well made but lacking good proportions, some is lacking in both style and functionality. This set of oak stable doors in the Cotswolds we were asked to replace was the latter. I assume the "joiner" charged a huge amount of money for this work none the less. The weathering details were not remotely considered, the proportions aren't correct and the fitting.... Well, amateur would be a compliment. Suffice to say it didn't sit well in it's Grade I listed surroundings.
As you can see with the pictures below they used very narrow boards which don't look at all right, a cheap and modern look. The hinges aren't fitted correctly, leaving the doors hanging at an angle. The handles have been terribly fit with the catch plates completely out of line and some of the edge boards seem to have been scribed on angles in places they shouldn't have been. The whole frames must be out of level.
The other issue with the hinges is they have been let in to the frame on the pin side, once we had them off we sent them off to a local blacksmith to have them "cranked" so as to allow for the thickness of the plate on the pin side.
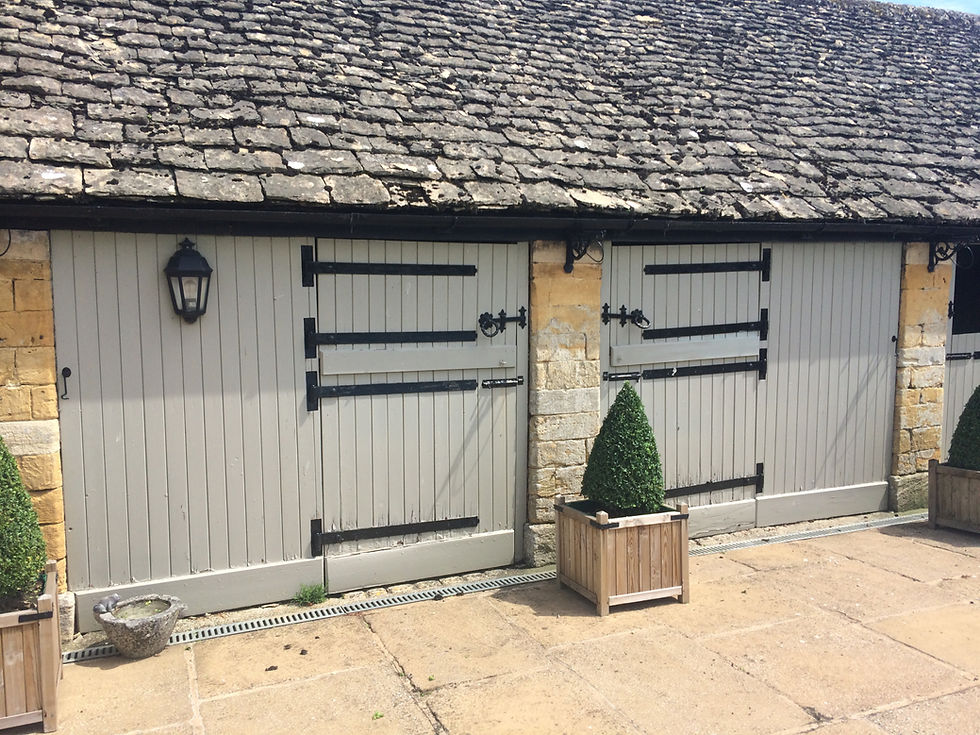
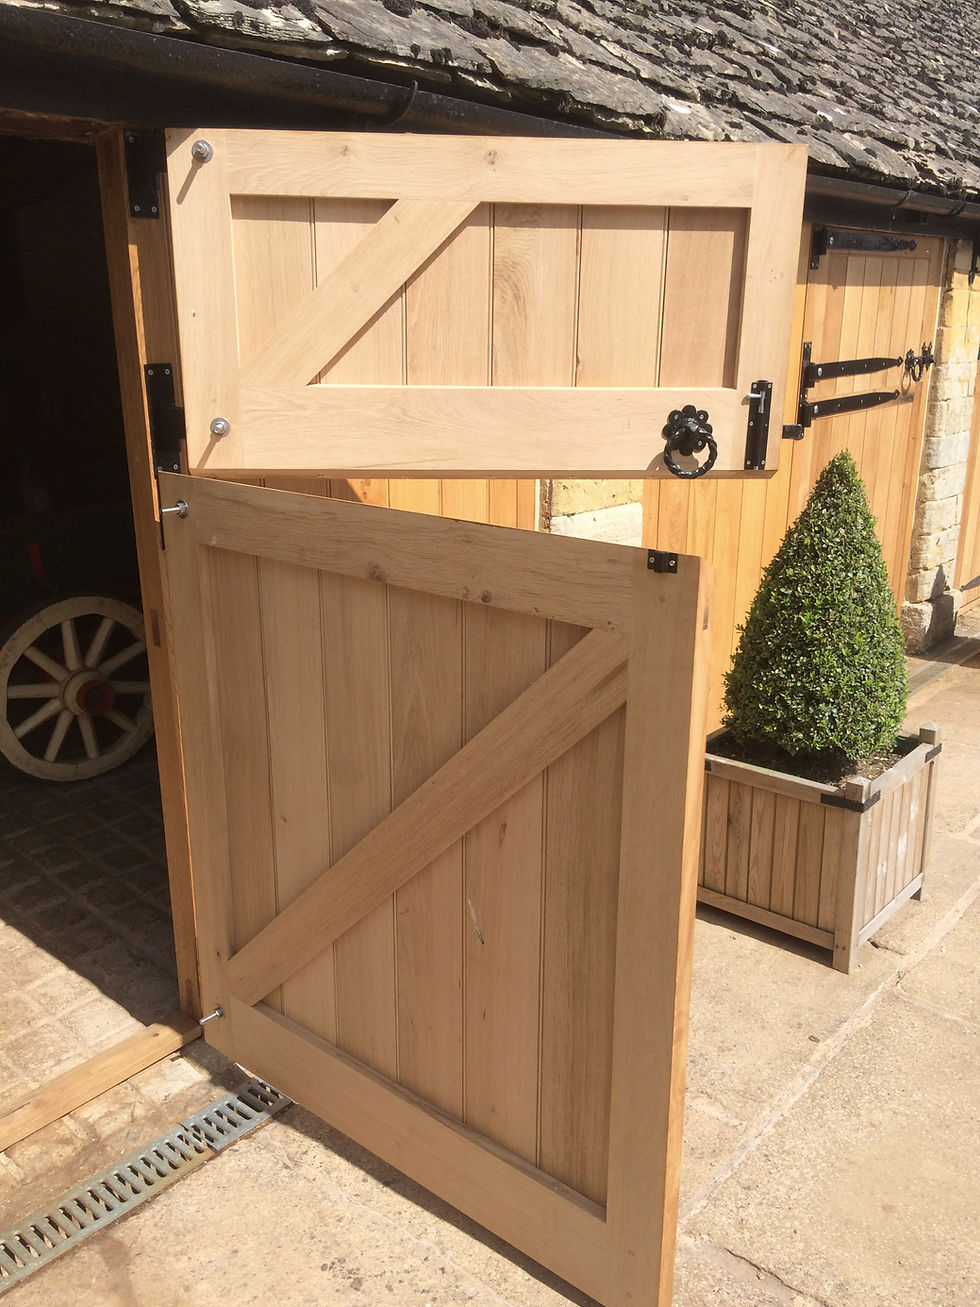
Note how they have added a "skirting" board on the bottom of the top doors and then again along the bottom of the frames and lower door. This has no angle along the top edge to allow for water run off and has therefore had the effect of adding a shelf to catch the water. The water has then run down the back and sat between this and the bottom of the boards causing them to rot prematurely.
Note here the braces. The lower brace is the wrong way around, it should rise upwards from the hinge side. I don't know where to start with the top braces! You can again see the rot in the bottom of the boards. The other observation here is the edge board has been cut down to almost 1" wide! Clearly the dimensions haven't been considered.

Time to remake these stable doors then...

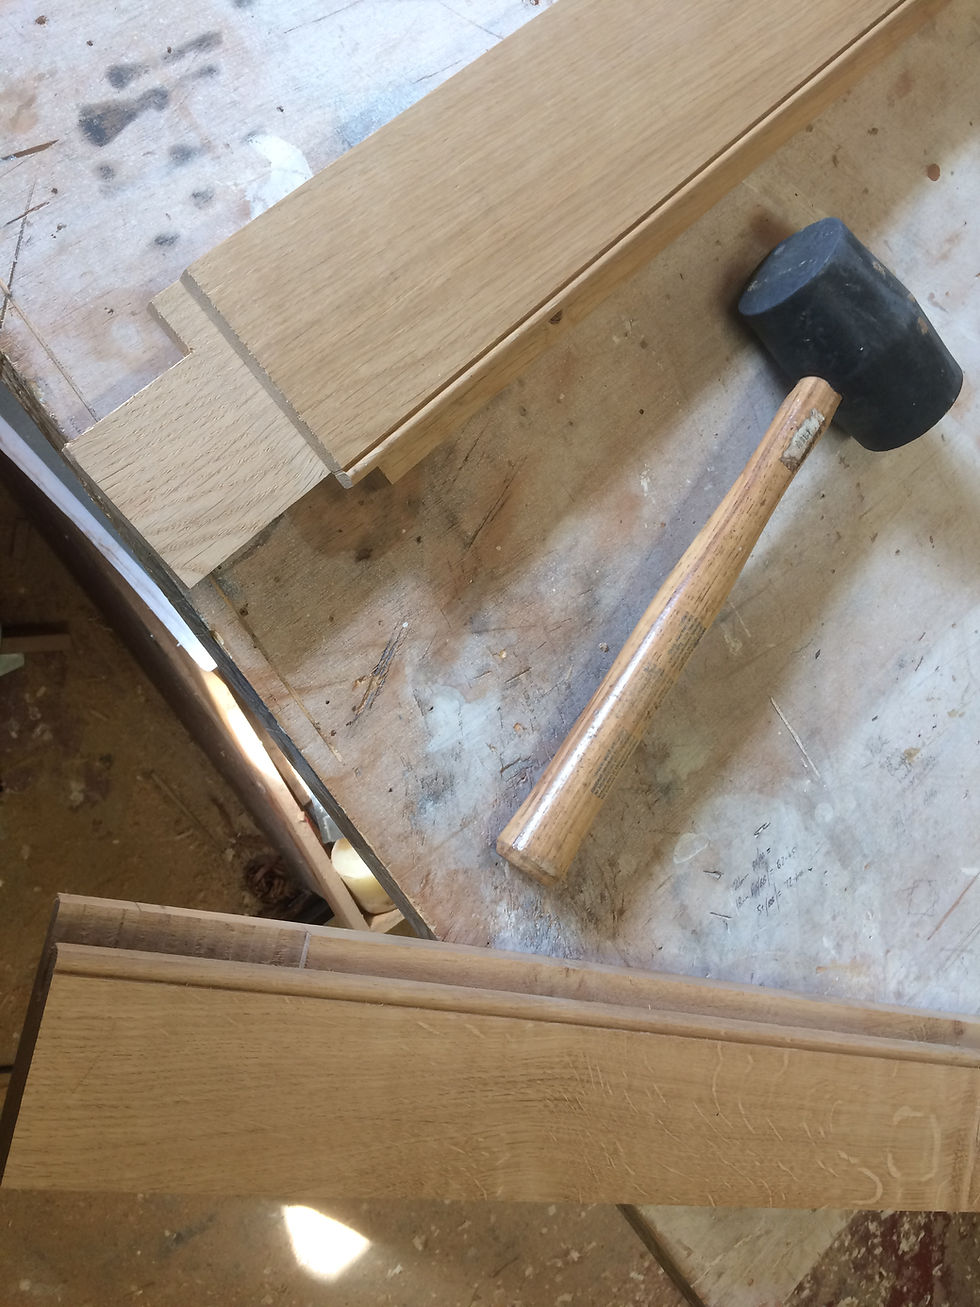
Okay so firstly it was to the planer to machine all this oak to size, then onto the spindle moulder to rebate all the stiles and rails. Then it was to the tenoner and finally the morticer. I then added a 1/4" bead around the perimeters where the board will meet the frames.
I'll skip through these parts and get to the interesting joinery detail on this job which was to mitre the beads where the rails tenon into the stiles.
I had put a bead onto a test piece so I could work out how much I needed to step the shoulders on the tenoner before letting out the beads where the mortices were.
Putting the joint together to mark where the mitre will start on the rail.

Removing most of the waste material on the spindle moulder, keeping a little away from the final line of the mitre, this kept the mortice shoulder square and accurate. The could also be done with a router, or on the bandsaw, or by hand and cleaned up with a chisel.

A quick jig made from some scrap to help guide the chisel at 45 degrees, I could then remove the remaining waste material to the line carefully.

Same on the tenon side...
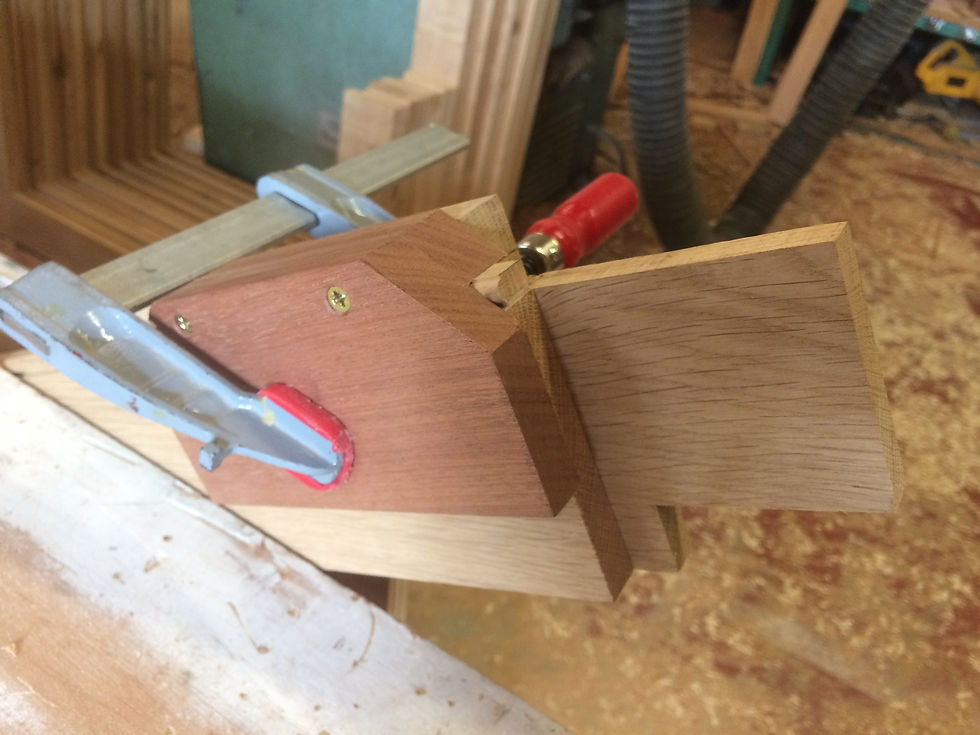
Test fit time!

A very satisfying and simple joint.

Now to repeat the process many many times!

Next job was to let in the braces (the correct way round!) and the bottom rails with bare faced tenons.

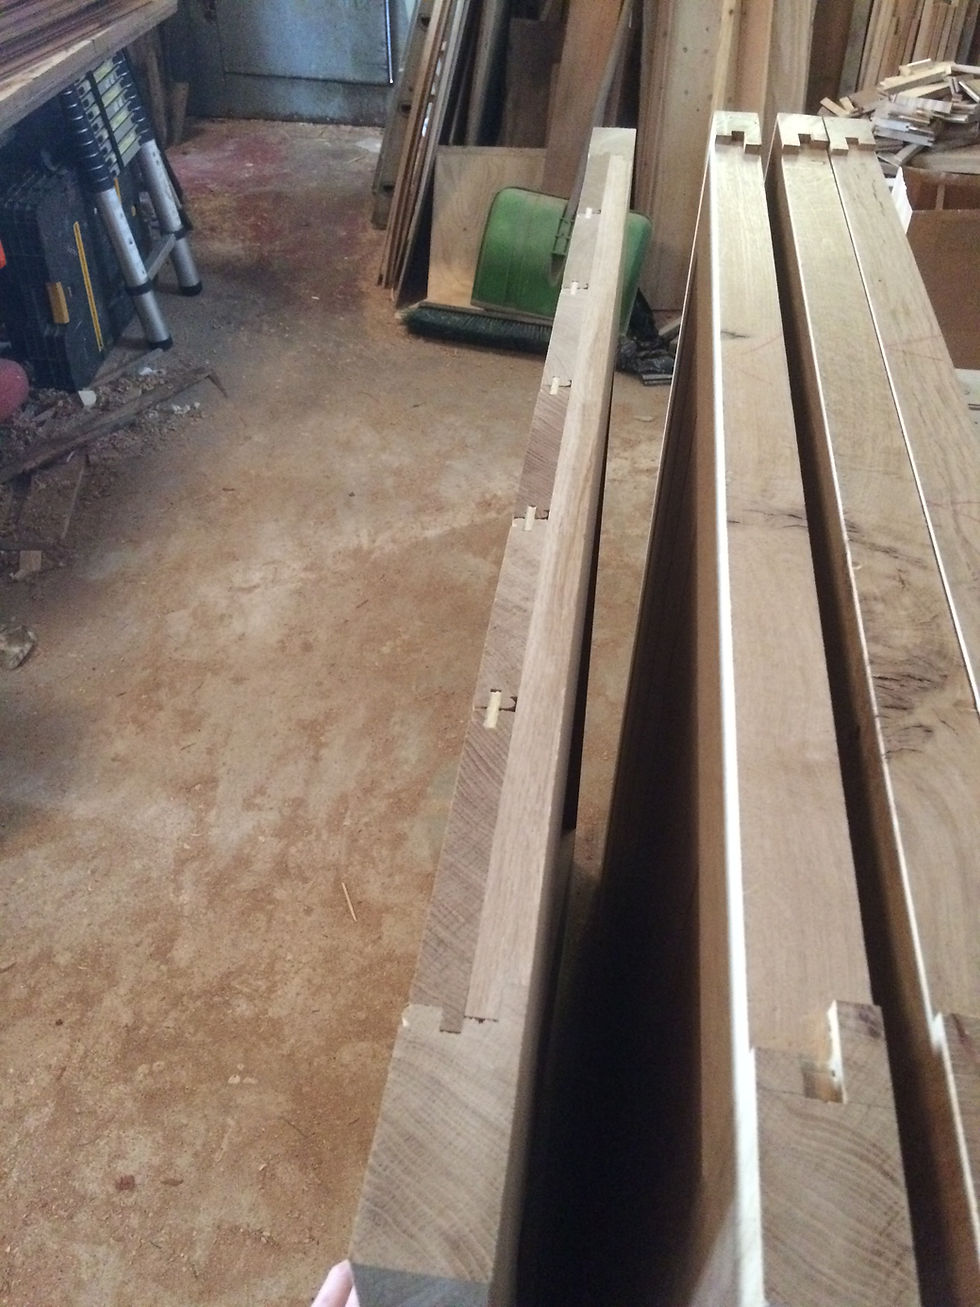
The boards had the same size 1/4" bead on their edges and we used a loose tongue between them made from 1/4" marine ply. Not as original as tongue and grooving them of course, but it does mean you don't get splitting which I think is a reasonable trade off.
This shows the detail of the loose tongue, the boards let in to the frames and the beads on opposite edges/sides of the boards. The boards were hand nailed on using stainless annular ring lost head nails.
The tenons were draw bored and pegged and also wedged. The should last a very long time these doors!


Once the top and bottom doors were finished I cut the bottom of both doors at a 9 degree angle and also the top of the bottom door at a 9 degree angle. Allowing for the doors to close together nicely but keeping the water running off.
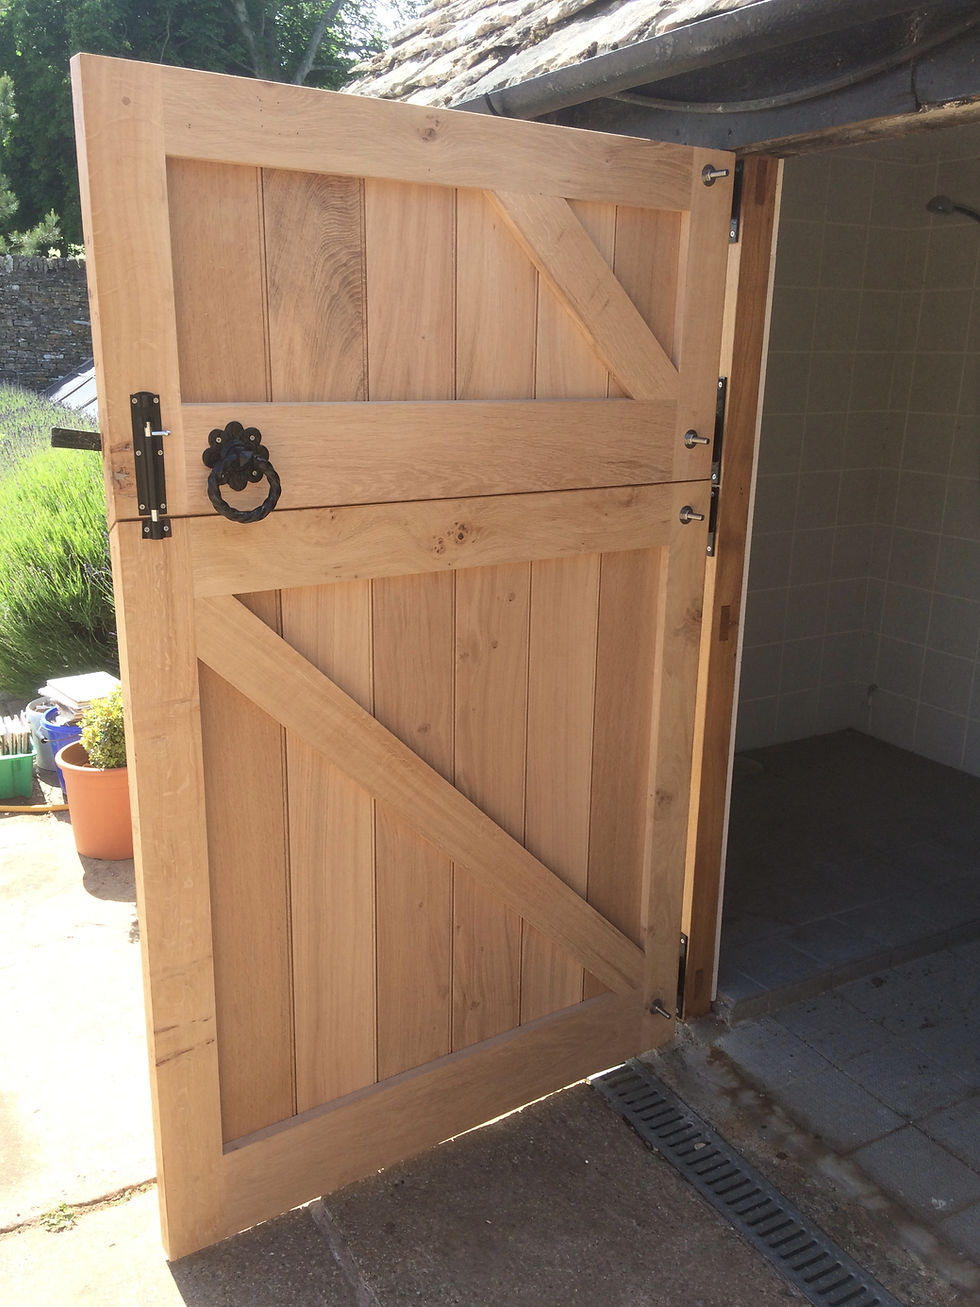
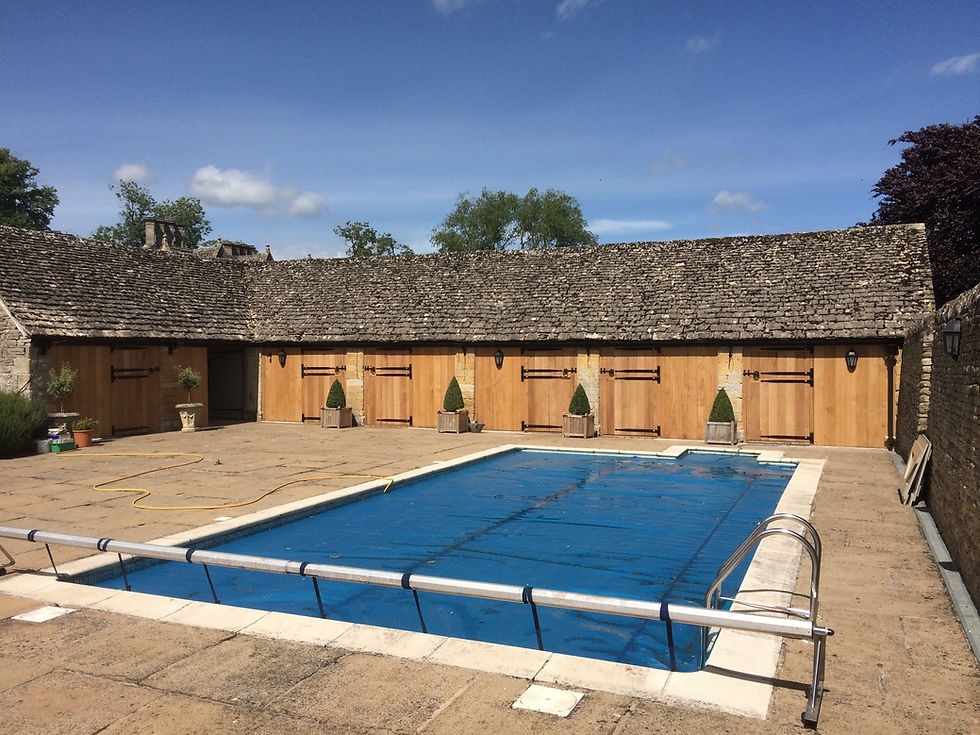
We gathered all the bits as well as the frames I'd made up for the side panels and got to site to start fitting.
The finished doors.


Comments